We are almost finished restoring all the bits & pieces.. But enough to start putting things back together..

Back together again.. The newly painted frame goes back into the (painted a month ago) tub. First is to get the axles , bearings and housings bolted back together.

The rear axle is in and sealed.. this is the drive gear side… Interestingly it’s adjustable for chain slack. For the very short chain from the jack shaft. This Terra Jet has three chains.. Something not found on 1973 and up models.. which only have one chain running between the front and rear axles.

This is the other side.. New bearings & seals. The front is next. Plus stuff like the jack shaft.
Meanwhile back to the steering:
Can’t assemble the front axles with first fixing the steering. As talked about on page 4. I saw a friend with a metal lathe today and made 4 new collette’s.

Here is one sitting where it goes on the steering tube. Once the bolt is adjusted correctly the allen bolt will lock it in place… SLICK. There will be a hole made and the collette will be welded in place.
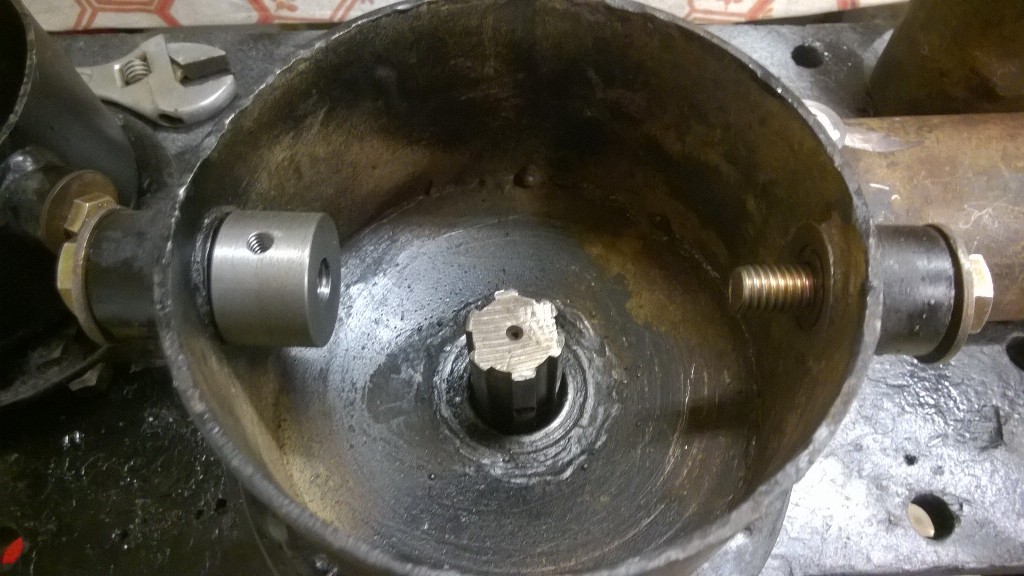
This is how the 1/2 ” bolt will hold it all together in the outer steering cup .. on the left is a collette test fitted.. Much better than a nut.. That flat surface is important for smooth steering.

Here above you can see the newly welded in place colletes. Big gobs of weld.. Have to be strong. Now isn’t that better than nuts welded on. Time to clean up the mess and paint them..

Today we got the front hubs back on.. and the new steering bushings work great..

We also straightened out the rear wheel hubs.. they bent a bit when we were using the puller to get them off the axle.. All better now.. I will be installing new wheel studs. Imagine… have all the nuts on each wheel… so many things I’ve brought home have missing wheel studs or nuts.. Not happening..
Oh Oh… I noticed a problem.. The front sprocket is not in proper alignment.
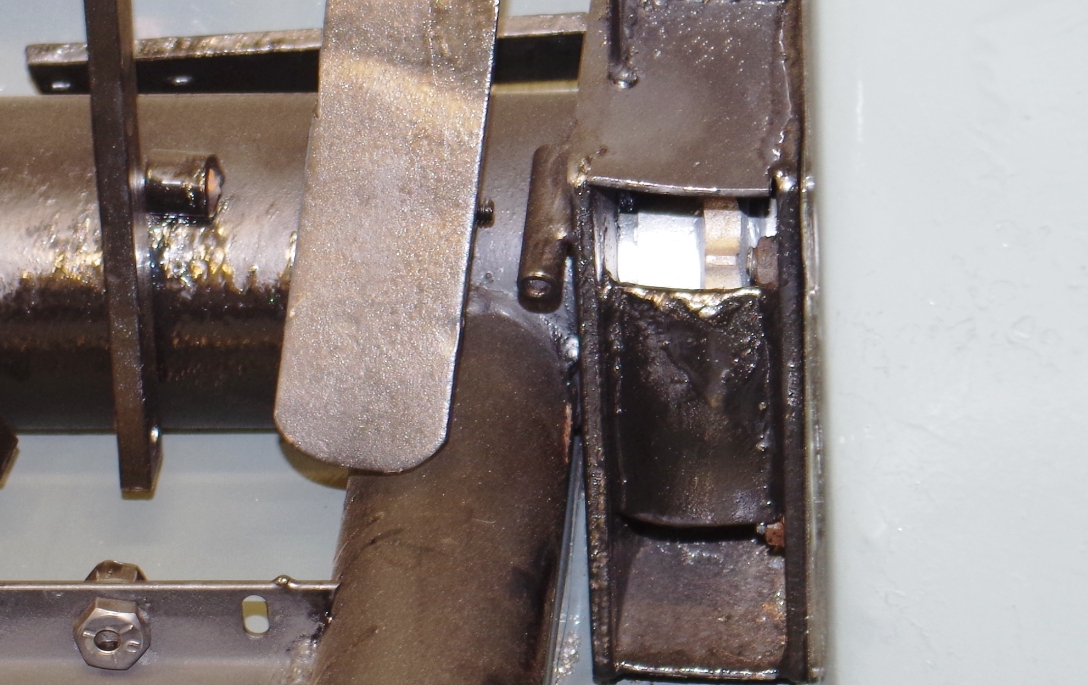
If you look at the above photo.. you can see a bit of the front sprocket hiding in there.. and you can see that it’s too far to the right.. That means the chain will hit the welded nuts. Oh darn ! The only way to properly fix this is to remove the front axle. I assumed that this sprocket was in it’s proper place. Not so.. And this may explain why there was no chain on the front drive. It most likely broke. So we had to take apart the front again.. Sigh.

Of approximately 3/8″ .. See that distance up to where the E-clip goes.. ya.. that’s a lot. Tried to hammer the sprocket into place.. nope. So off to the press and we pressed it off the axle. Out comes the emery cloth.. and cleaned everything good .

And I don’t want this to happen again.. so I drilled and tapped for a set screw.

Just need to slide the sprocket up to the E-clip.. and lock it now.. and Then.. back together.
March 3 2015:
We got all the front axle back together ..and the steering too.

No play in the steering.. solid as can be.. It’s true rack & pinion steering..

Lots of grease on the parts.. Even did an EYE BALL alinement. And we got the threads fixed on the rear axle and the hubs …with their new wheel studs are on..

Wee ha.. got a rolling chassis now.. if I put the wheels on… They need the paint first.. … And this post is getting long.. time for
Page 6… continue the re-assembly: