
Welcome to Page 3..
Link to Bazoo Page 1 : Bazoo Page 2 : Bazoo Page 4
New Month… New Page…It’s now March 2014
And I have the goodies I need to make the secondary drives new again.. I also bought new master links for the chains.. and some nostalgic looking beehive marker lights.. that I’m thinking would look good for my running lights. Back to the drive line…

All new axle shafts and the inner bearings too. Looking good.. time to work on the motor mount. I added an extra 1/4 ” of rubber to the motor mounts. and I trimmed the mounting plate, flipped it over and the motor is in the right place. The belt lines up and there’s just that little extra room for the air intake on the carb. Forgot the photo.. Took the motor back off so the chassis is not so heavy.
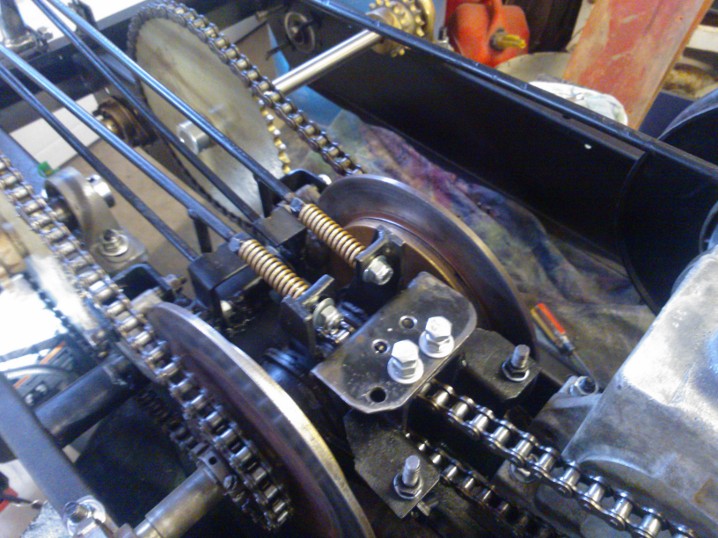
This photo shows the chains for the drives and a stop plate for the levers.. After trying things out and seeing how they work we realized that this was a necessary part. So I made a new one .. When the clutch levers are in the release position, they rest against the stop plate. ( adjusted properly ). To use the brakes you pull back further compressing the two springs you see.. This way you can’t engage the clutch & the brakes at the same time. ( Brilliant ). The one axle is now out getting fixed.. But I can still carry on. Just a few things to do and Dave & I will fit the chassis back into the Bazoo. I don’t know if I should call it a chassis or the frame.. it’s both !

In the mean time.. I’m cleaning up stuff and getting the bits ready.. I know your thinking why paint the gears..Well RUST.. I don’t want them to rust.. that’s my answer and I’m sticking to it.. I have gold paint so that’s the color..Those black blobs are the seals & bearings that hold the frame to the body.. and keep the water out at the axles.. They bolt through to the frame on the inside. Four bolts each and a rubber gasket.. it’s all that holds the two together sandwiching the fiberglass body and the frame. I’ve got three different kinds… two are the factory aluminum castings, two are machined aluminum and two are machined steel. Can’t explain that one..

Here you see them again after we put the frame back into the Bazoo. I still need to paint the ends of the axles. Just stuck them in there to see the fit. So yes we got the frame in, and bolted five of the seals in place.. one is with the axle getting fixed.

There is still a lot to do.. but this means more room in the shop 🙂 .. When I get the repaired axle back all the drive gears and chains need to be installed. In the mean time I could do the wiring now.

Even the choke control is in.. After I wired everything up.. I put power to it to see if things work as they should.. I think I blew ( no pun intended) the fuse for the horn.. but the rest works fine.. The red light is to show power on.. It’s kinda over kill because the hour meter has a flashing light. I may just rethink the running light thing.. and hook the tail lights to the head lamps.. and use the other switch for the bilge pump.. Yes a bilge pump.. don’t forget this thing is part boat too. I did not want drain holes in the bottom so a bilge pump is a better choice. I’ve got one kicking around somewhere.. As for the lights.. I have three different sets.. that include those beehive ones, some LEDs and good old trailer side marker lights.. the marker lights are my favorite because they are easy to install and durable.

Maybe they aren’t the prettiest lights out there but they work for me.. If you break a lens you can get a new one cheep. These now turn on with the head lamps. I’ll be using more of these on the Kubota BX to replace it’s factory tail lights. ( I broke one this winter) and I’m not buying the Kubota one..

Where your WAZOO goes in the BAZOO
Other than the wheels, the seat was the other only thing to be untouched. I set it aside to be worked on later… Later has come now that I’m waiting for drive train parts. The upholstery on the seats is in remarkable condition for it’s age… presuming it’s the original. However the plywood that it’s stapled to is not. So I’m mulling over what to do. Mean time I set to work on the frame.. Someone had welded extra pieces to the top bar for a gun rack.. I used the grinder to remove those.. One of the cross bars had a broken weld.. and one mount was missing.. Zap Zap with the welder.. fixed. And above you see a new satin black paint job.. As for the cushions I’m thinking that at the least new plywood could be a good thing.. But a part of me would like to send them out for new covers too. However I should just wait and see .. they are easy to remove if I change my mind later.

So when I took the cover off the seat.. I found that the plywood base was only bad where the rusty blind nuts were.. so I got new blind nuts and moved them to a clean part.. basically turned the plywood around front to back.. sanded it all down and painted the bottom.. Re-stapled the cover back on.. and it’s like new.. See for yourself…

Yup that works.. Ya know I never sat in the seat till today.. I took things apart right away.. It’s actually comfy.. certainly does the job.. Next I cut new plywood sides for the interior..


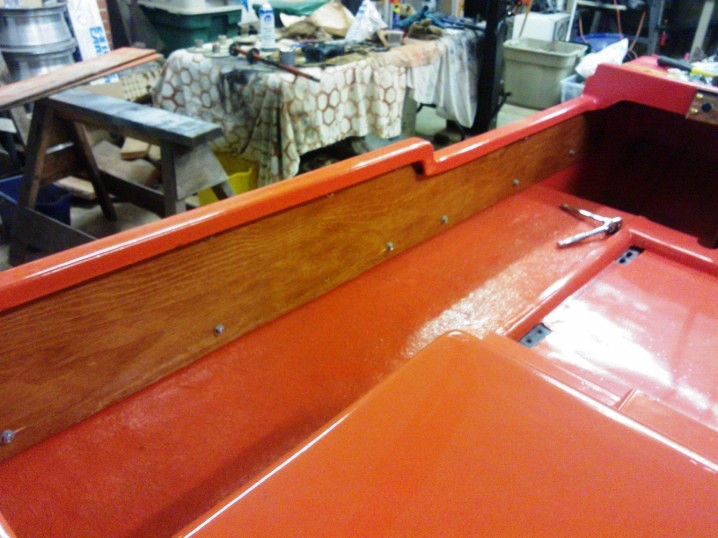
There you have it.. They are bolted through with carage bolts… that way the heads are flush. These add a bit of strength to the sides.. And I stained and varnish them too.. I’m jumping back & forth a bit , just trying to take care of loose ends.. & things I can do for now.. The muffler was one of those things.. A while back I cleaned and painted the muffler.. I have now taken the old piece of aluminum they had for a heat shield and re-worked it.. so it attached to the muffler mount and not to the body of the Bazoo..

This is a much tidier set up.. and it’s all got hi-temp paint on it. I used a rubber gasket between the muffler and the body.. and the best part. Only two mounting bolts. I’m all about having less holes in the fiberglass body.
Continued on Bazoo Page 4